
How to Set Up Your Desk Ergonomically Correct — A Step-by-Step Guide for Pain-Free Workdays
Setting up your desk ergonomically correct can mean the difference between finishing your workday energized or ending it with throbbing wrists and a stiff neck. If you spend 6–10 hours daily at your computer, you already know the creeping discomfort that builds over months, and the fear that it might become permanent.
Here's the good news: you don't need expensive equipment or an office redesign to fix this. In the next 15 minutes, you'll learn exactly how to position your chair, monitor, keyboard, and mouse for neutral posture and reduced strain. These aren't vague tips. They're specific measurements, angles, and adjustments backed by ergonomic research that you can apply today.
Key Takeaways
- Setting up your desk ergonomically correct prevents repetitive strain injuries and chronic pain that develop from months of poor posture.
- Position your monitor at arm's length (20–26 inches) with the top of the screen at or slightly below eye level to maintain a neutral neck position.
- Keep your keyboard flat or tilted negatively (front edge higher) and place your mouse immediately beside it to reduce wrist strain.
- Adjust your chair so your feet rest flat on the floor, knees bend at 90 degrees, and the seat edge sits 2–4 inches behind your knees.
- Take hourly breaks to stand and stretch—this single habit reduces RSI risk more than any equipment purchase.
- Spend 15 minutes today making one adjustment from each major area (chair, monitor, keyboard/mouse) and test for a full workday before further changes.
Why a Correct Ergonomic Desk Setup Matters for Long-Term Health

Poor desk ergonomics don't just cause temporary discomfort. They create cumulative damage. Repetitive strain injuries (RSIs) like carpal tunnel syndrome develop over months or years of small, repeated stresses on your muscles, tendons, and nerves.
The numbers are sobering. According to the Cleveland Clinic, prolonged desk work with improper posture contributes to chronic back pain, neck tension, and wrist injuries that affect millions of office workers annually. And once these conditions develop, recovery takes months, sometimes longer.
A correct ergonomic desk setup keeps your spine aligned, your shoulders relaxed, and your wrists in neutral position. Which means you work longer without pain, stay focused without fidgeting, and protect your body from damage that could sideline your career.
Want to understand how workplace ergonomics affect both your health and your employer's bottom line? This breakdown on how ergonomic workstations prevent injuries shows the real-world impact.
Take action today: Notice where you feel tension after 2 hours of work. That's your body telling you exactly what needs adjustment first.
What You'll Need Before You Start

Before adjusting anything, gather these essentials:
Required equipment:
- Adjustable chair with lumbar support (seat height should adjust between 16–21 inches)
- Stable desk with matte finish and rounded edges
- External keyboard and mouse (laptop keyboards force poor posture)
- Monitor or laptop stand
Helpful additions:
- Footrest (or a stack of paper/books if you're under 5'4")
- Document holder for reference materials
- Wrist rest for keyboard breaks
Your desk surface matters more than you'd think. You need at least 27.5 inches of width and 16 inches of depth to position equipment properly. Rounded edges prevent pressure on your forearms.
If your current chair lacks lumbar support, a rolled towel placed at the curve of your lower back works temporarily. But for 8+ hours daily, invest in a chair that actually fits your body.
Start here: Measure your current desk depth. If it's under 16 inches, you'll need a keyboard tray or a different surface to achieve proper positioning.
Step 1: Position Your Chair for Proper Support

Your chair is the foundation. Get this wrong, and every other adjustment compensates for a bad starting point.
Adjust Seat Height and Depth
Set your seat height so your feet rest flat on the floor (or on a footrest). Your knees should bend at approximately 90 degrees, with thighs parallel to the ground. Too high, and you'll dangle your feet, cutting circulation. Too low, and your hips flex past 90 degrees, straining your lower back.
Seat depth matters just as much. The front edge of your seat should sit 2–4 inches behind your knees when your back touches the lumbar support. This prevents pressure on the backs of your thighs while keeping your spine supported.
For most adults, this means a seat pan depth of 15–17 inches.
Set Armrests to Relieve Shoulder and Wrist Strain
Armrests should match your desk or keyboard height exactly. When adjusted correctly, your shoulders stay relaxed (not shrugged) and your elbows bend at roughly 90 degrees.
If your armrests are too high, your shoulders creep upward, creating neck and trapezius tension. Too low, and you'll lean to one side or hunch forward.
Some people find armrests get in the way. That's fine, remove them entirely rather than fight against poorly positioned ones.
Quick test: Sit in your adjusted chair with arms at your sides. If your forearms rest naturally on the armrests without lifting your shoulders, you've nailed it.
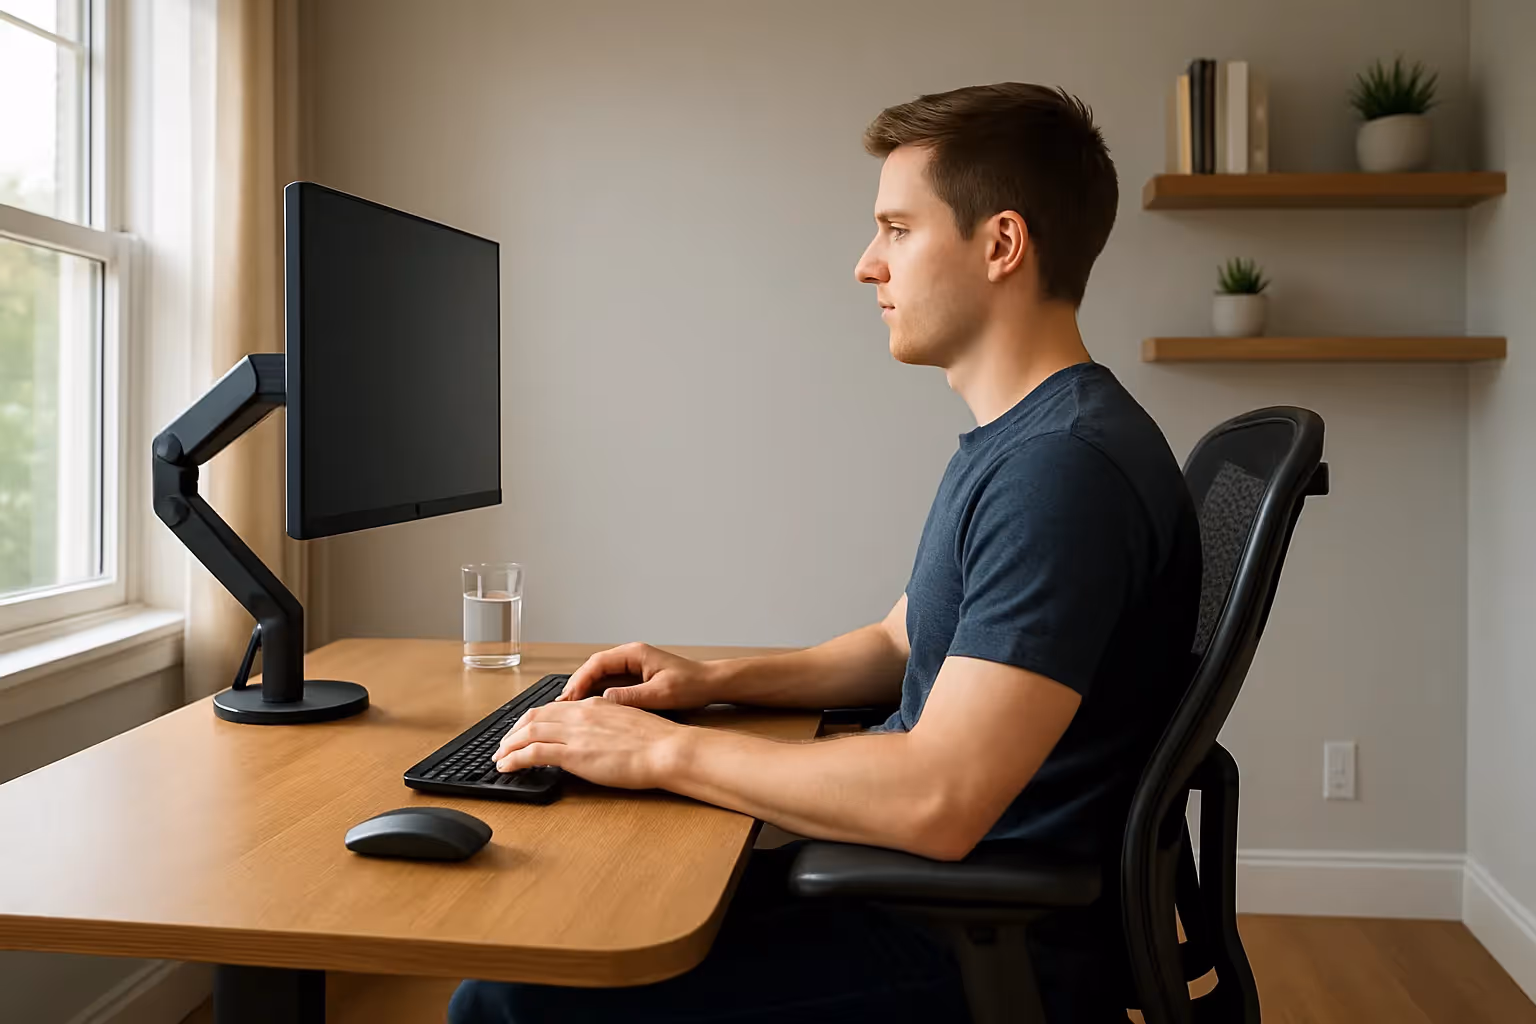
Step 2: Align Your Monitor at the Right Height and Distance
Monitor position determines whether you spend 8 hours with a neutral neck or 8 hours craning forward like a turtle.
Single-Monitor Setup
Place your screen at arm's length, roughly 20–26 inches from your eyes. Extend your arm straight: your fingertips should nearly touch the screen.
Height matters most. The Mayo Clinic's ergonomics guide recommends positioning the top of your screen at or slightly below eye level. This keeps your neck in neutral position rather than tilted up or down.
If you wear bifocals or progressive lenses, lower your monitor an additional 1–2 inches to avoid tilting your head back.
Dual-Monitor Setup
For two screens, your primary monitor sits directly in front of you. The secondary screen angles inward at 30 degrees, positioned immediately adjacent.
Critical mistake to avoid: Don't center yourself between two monitors unless you use both equally. You'll spend all day turned to one side, creating asymmetric neck strain.
If you truly split attention 50/50, angle both monitors inward toward your centerline, creating a slight "V" shape.
Try this now: Close your eyes, face forward, then open them. Your gaze should land on the upper third of your primary screen without moving your head.
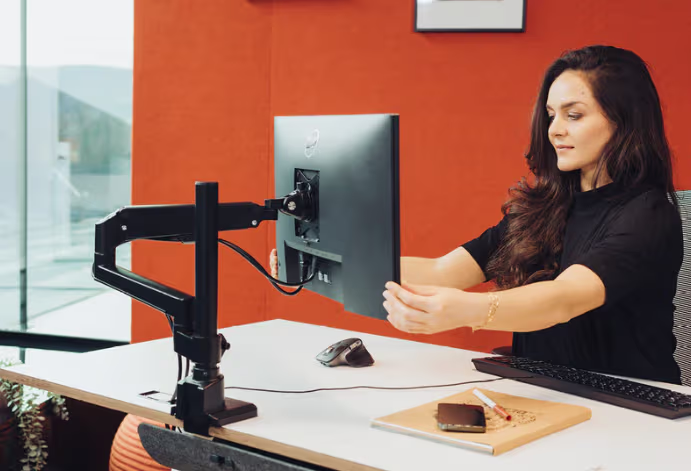
Step 3: Place Your Keyboard and Mouse to Reduce Repetitive Strain
.avif)
Keyboard and mouse placement causes more RSI injuries than any other ergonomic factor. Your wrists bear the brunt of poor positioning, and they're slow to heal once damaged.
Keyboard Placement and Tilt
Position your keyboard so the "H" key aligns with your body's centerline. Your elbows should hover slightly above keyboard height, allowing your forearms to slope gently downward. This keeps wrists straight and neutral.
Flip those keyboard feet down. The flat or negative tilt position (front edge higher than back) maintains wrist alignment. Those pop-out feet actually increase wrist extension and strain.
If your desk is too high, a keyboard tray mounted below desk level solves the problem. The Wirecutter's ergonomic workstation guide confirms this is one of the most effective single changes you can make.
Mouse Positioning for Natural Arm Alignment
Keep your mouse immediately beside your keyboard, at the same height. Reaching outward to grab a distant mouse creates shoulder abduction, a fancy term for the strain you feel when your arm extends away from your body repeatedly.
Traditional mice force wrist pronation (palm-down position), which compresses the carpal tunnel over time. Ergonomic alternatives like centered rollerbars or vertical mice reduce this strain significantly.
For those already experiencing wrist discomfort, exploring comprehensive ergonomic principles helps you understand which changes deliver the most relief.
Immediate action: Move your mouse 3 inches closer to your keyboard. Most people position it too far right.
Step 4: Optimize Your Desk Surface and Accessories
Your core setup is complete. Now fine-tune the supporting elements that make or break long-term comfort.
Organize for Reach and Comfort
Keep frequently used items within forearm's reach, about 16 inches from your seated position. Phone, notepad, water bottle: they shouldn't require leaning or stretching.
Under-desk clearance often gets overlooked. You need at least 24 inches of width and 12 inches of depth beneath your work surface for leg movement. Boxes, power strips, and forgotten equipment crammed under your desk force awkward leg positions.
A clutter-free surface also reduces unconscious reaching. Studies on workspace efficiency and ergonomics show that organized desks improve both posture and productivity.
Add Supportive Accessories (Footrest, Document Holder, Wrist Support)
Footrest: Essential if your feet don't rest flat on the floor after proper chair adjustment. A tilted footrest at 15–20 degrees supports blood flow and reduces lower back pressure.
Document holder: If you reference papers while typing, position a document holder at eye level beside your monitor. Looking down at flat documents repeatedly creates 20+ daily neck flexions you don't need.
Wrist rest: Use it during pauses, not while actively typing. Resting wrists on a padded surface while striking keys actually increases carpal tunnel pressure.
This weekend: Clear everything from under your desk and confirm you can stretch your legs freely.

Step 5: Fine-Tune Lighting and Minimize Eye Strain
Lighting affects posture more than you'd expect. Glare on your screen causes you to lean, squint, tilt, and contort, all without noticing.
Position your monitor perpendicular to windows, not facing them or with your back to them. Direct sunlight behind you creates screen glare: facing a window causes your pupils to constantly adjust between bright and dim.
Overhead fluorescent lighting often reflects off glossy screens. Use a matte screen protector if glare persists, or angle your monitor downward by 10–20 degrees.
Ideal lighting setup:
- Indirect ambient light from the side
- Task lamp for documents (positioned to avoid screen reflection)
- Monitor brightness matching surrounding room brightness
If your eyes feel strained by 3 PM, your lighting, not your vision, is likely the culprit. The 20-20-20 rule helps: every 20 minutes, look at something 20 feet away for 20 seconds.
Quick fix: Turn off the overhead light directly above your monitor for one day. Notice the difference.
Common Ergonomic Mistakes to Avoid
Even with perfect initial setup, these errors creep back:
Reaching for your mouse: Moving it "just a few inches" to make room for papers. Within a week, your shoulder aches.
Monitor drift: Gradually pushing your screen back to fit more items on your desk. Now you're leaning forward to read, straining your neck and lower back.
Chair sink: Budget chairs lose pneumatic pressure over months. If you're adjusting height upward every few days, the cylinder needs replacement.
Keyboard on desktop with fixed-height desk: If you can't lower your keyboard, you'll type with raised shoulders. A keyboard tray costs $40–100 and solves this permanently.
Screen too high: "Eye level" means top of screen, not center. Monitor arms often get cranked up too far.
For remote workers building or improving home setups, this home office setup guide covers common pitfalls specific to non-corporate environments.
Honest warning: If you've had your current setup for years, you've likely adapted to its problems. You might feel worse initially after correcting positions as your body readjusts. Stick with proper alignment, the discomfort passes within 1–2 weeks.
Quick Daily Habits to Maintain Your Ergonomic Setup
A perfect setup deteriorates without maintenance. Build these habits:
Every hour: Stand, stretch, walk for 2 minutes. Set a phone timer if you lose track. This single habit reduces RSI risk more than any equipment purchase.
Every morning: Do a 30-second posture check. Feet flat? Shoulders relaxed? Monitor at proper distance? It takes seconds and prevents gradual drift.
Every week: Check under your desk for clutter creep. Move anything blocking leg space.
Micro-movements matter. Shift your weight, adjust your position, fidget intentionally. Static posture, even "perfect" static posture, creates strain. Your body wants variety.
If you're ready to formalize workplace ergonomics for yourself or your team, these strategies for making ergonomics a priority provide frameworks that actually stick.
Start tomorrow: Set 3 hourly reminders labeled "stand + stretch." After two weeks, it becomes automatic.
Your Next Steps Toward a Healthier Workspace
You now have a complete roadmap for correct ergonomic desk setup. But reading isn't doing.
Spend 15 minutes today making one adjustment from each major section: chair, monitor, keyboard/mouse. Test your new setup for a full workday before tweaking further. Your body needs time to register what's actually better versus what's simply different.
If pain persists after 2–3 weeks of proper positioning, consult an ergonomic specialist or physical therapist. Some issues require professional assessment beyond self-adjustment.
And if you're still reaching, twisting, or gripping a traditional mouse all day, no amount of chair or monitor adjustment will fully fix the problem. That's where the right device changes everything.
Our RollerMouse keeps your hands centered in front of you, eliminating the constant shoulder reach that causes neck and upper back strain. It's not a tweak. It's a structural upgrade to how you work. Prefer a vertical solution? Unimouse adapts to you — not the other way around. With its adjustable angle and thumb support, you set the exact position that keeps your wrist neutral and your grip relaxed. That's how you stop strain at the source.
Your workspace should support your work, not fight against it. Make the changes. Protect your body. You've got years of productive, pain-free work ahead.
Frequently Asked Questions
How do I set up my desk ergonomically correct?
To set up your desk ergonomically correct, position your chair so feet are flat on the floor with knees at 90 degrees. Place your monitor at arm's length with the top at eye level. Keep your keyboard centered so your wrists stay straight and your mouse close to avoid shoulder strain.
What is the best monitor height for ergonomic desk setup?
The best monitor height places the top of your screen at or slightly below eye level, approximately 20–26 inches from your eyes. This keeps your neck in a neutral position and prevents forward craning. If you wear bifocals, lower the monitor an additional 1–2 inches.
Why does ergonomic desk setup matter for preventing injuries?
Proper ergonomic desk setup reduces cumulative strain on muscles, joints, and nerves that leads to repetitive stress injuries like carpal tunnel syndrome and chronic back pain. Correct positioning keeps your spine aligned, shoulders relaxed, and wrists neutral—protecting your body from damage that develops over months of poor posture.
What equipment do I need for an ergonomically correct workstation?
Essential equipment includes an adjustable chair with lumbar support (seat height 16–21 inches), a stable desk with at least 27.5 inches of width and 16 inches of depth, an external keyboard and mouse, and a monitor stand. Helpful additions include a footrest, document holder, and wrist rest for breaks.
How should I position my keyboard and mouse to reduce wrist strain?
Position your keyboard so the H-key aligns with your body's centerline, with wrists straight and forearms sloping gently downward. Keep keyboard feet flat or tilted negatively. Place your mouse immediately beside your keyboard at the same height to prevent shoulder strain from reaching.
How often should I take breaks when working at a desk?
Take a 2-minute break every hour to stand, stretch, and walk. Follow the 20-20-20 rule for eye strain: every 20 minutes, look at something 20 feet away for 20 seconds. Regular micro-movements and posture checks prevent the strain that comes from static positioning, even in a perfect ergonomic setup.

Which Device Is Right for You?
Take a quick quiz and get a personalized recommendation based on how you work.
