
Ergonomic Home Office Setup: A Practical Guide to Comfort
You're deep into a spreadsheet or design file when you notice that familiar ache creeping from your wrist up through your forearm. You roll your shoulders, but the tension in your neck doesn't budge. Sound familiar? An ergonomic home office setup isn't about fancy furniture or trendy gadgets—it's about arranging your workspace so your body can actually do its job without paying a price. Let's walk through how to assess what's working, fix what isn't, and choose devices that keep you comfortable for the long haul.
Why Ergonomics Matters for Remote Workers

When you work from home, there's no facilities team adjusting your chair or IT department swapping out your keyboard. You're the ergonomics department now. And that matters, because poor setup choices compound over months and years into real problems: wrist strain, shoulder knots, lower back pain, even headaches from screen glare.
The stakes aren't just physical. Discomfort tanks your focus. A nagging ache in your forearm pulls attention away from the code you're debugging or the article you're editing. Over time, that lost focus adds up to missed deadlines, slower work, and the creeping worry that your body might not hold up for the career you've built.
Here's the good news: small, intentional changes to your home office can prevent most of these issues. According to Cornell University's ergonomics research, proper workstation setup reduces musculoskeletal discomfort and boosts productivity. You don't need to overhaul everything at once. You just need to know where to look.
Assessing Your Current Setup
Before you buy anything or rearrange your desk, take five minutes to sit in your workspace the way you normally do. Not the way you think you should, the way you actually do at 4 p.m. on a Thursday when you're tired.
Ask yourself: Are your feet flat on the floor, or are they dangling or tucked under your chair? Are your elbows bent at roughly 90 degrees, or are they flared out or pinched tight? Is the top of your monitor at eye level, about an arm's length away, or are you craning your neck up or down to see your screen?
Feel for tension. Where do you hold it? Shoulders pulled up toward your ears? Wrists bent back or sideways? Lower back unsupported? These signals tell you exactly where your setup is failing you. For a structured approach, the NIOSH Computer Workstation Checklist offers a thorough self-assessment you can complete in minutes.
Common Problem Areas to Identify
A few culprits show up again and again in home offices:
- Laptop neck: Hunching over a laptop screen that sits too low, pulling your head forward and straining your neck.
- Dangling feet: Chairs too high, leaving your legs unsupported and putting pressure on your thighs.
- Raised shoulders: Desks too high, forcing your shoulders up to reach the keyboard.
- Awkward reaches: Clutter or poor placement making you twist or stretch for your mouse, phone, or documents.
- Glare and bad lighting: Windows behind your screen or overhead lights reflecting off the display, causing eye strain.
Identifying these issues is half the battle. Once you see what's wrong, fixing it becomes straightforward. Use this ergonomic workstation setup checklist to work through each element of your desk systematically.
Follow these steps to create an ergonomic desk setup that supports proper posture:
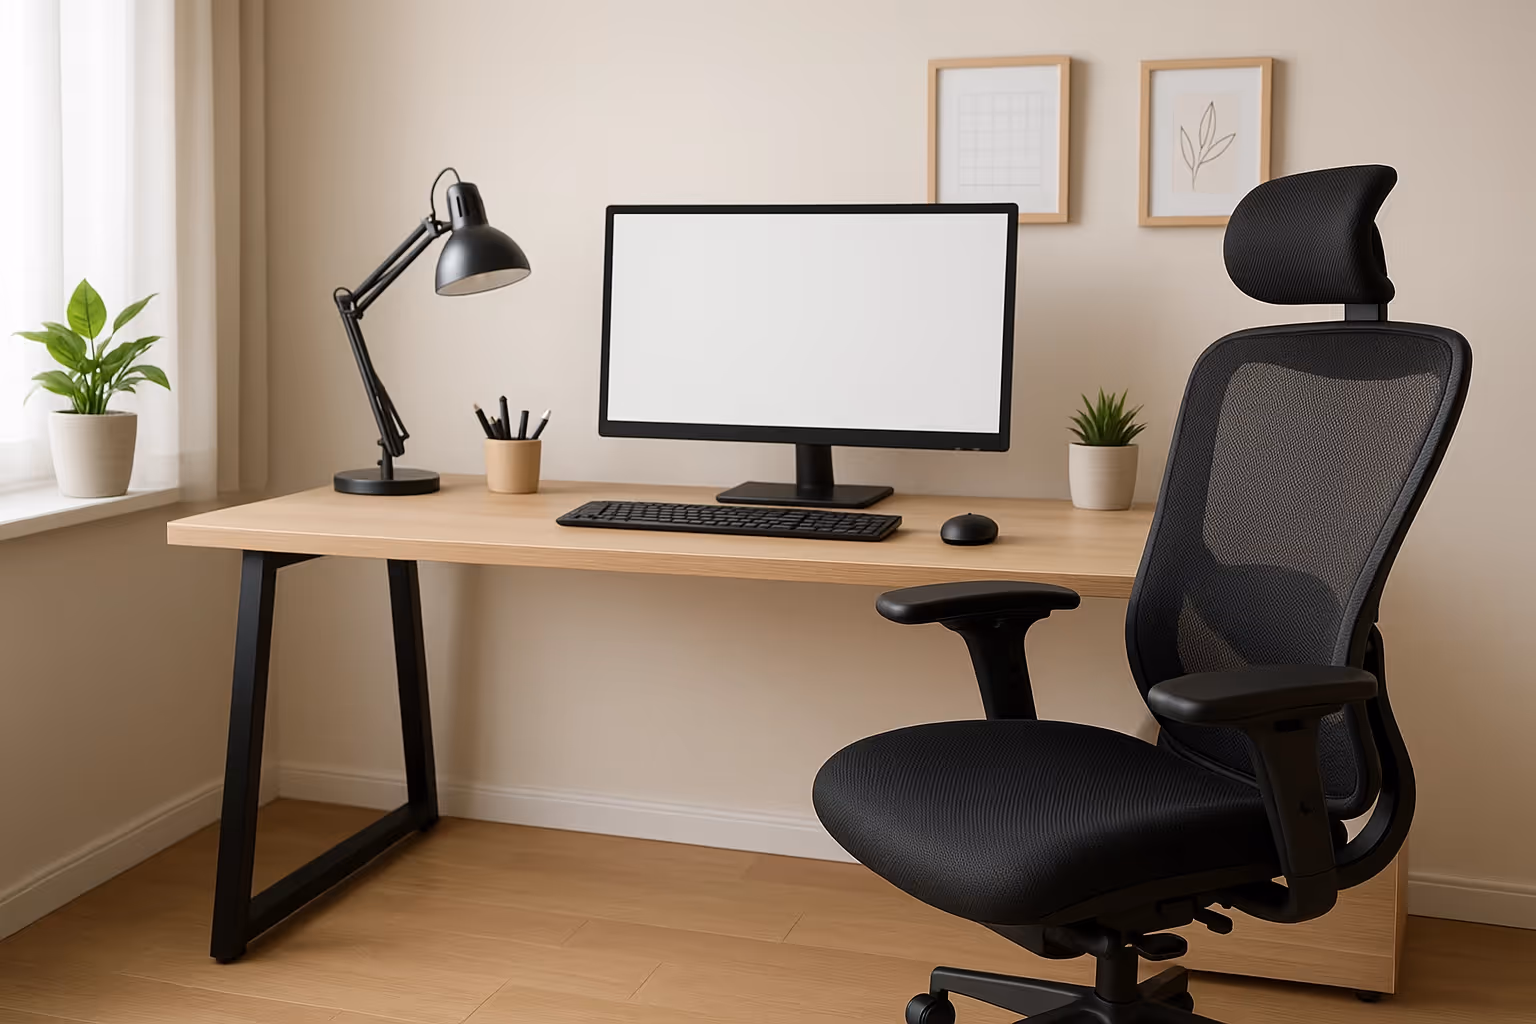
Step 1. Setting Up Your Desk and Chair for Neutral Posture
Neutral posture is the goal. That means your joints are aligned naturally, muscles aren't working overtime, and nothing is bent or twisted at awkward angles.
Start with your chair. Adjust the height so your feet rest flat on the floor and your thighs are roughly parallel to it. If your chair doesn't go low enough, add a footrest, or a stack of books. Your lower back should press gently against lumbar support: if your chair lacks it, a small cushion or rolled towel works fine.
Set your armrests (if you have them) so your elbows bend at about 90 degrees and your forearms rest lightly without lifting your shoulders. If the armrests push your elbows out or up, lower them or remove them entirely.
Now, your desk. Your keyboard and mouse should sit at a height that lets your forearms stay parallel to the floor, wrists straight, not bent up or down. Most dining tables are too high for this, which is why so many home workers end up with shoulder and wrist problems. A keyboard tray can drop your input devices to the right level. If that's not an option, raising your chair and adding a footrest can compensate.
Leave ample legroom under the desk. Clutter, drawers, or cables that crowd your legs force you into awkward positions. To dig deeper into workstation fundamentals, explore this guide on everything you need to know about ergonomics.
Step 2. Positioning Your Monitor at the Right Height and Distance
Your monitor's position shapes how you hold your head and neck for hours at a stretch. Get it wrong, and you'll pay for it.
Place the top of your screen at or just below eye level. This keeps your gaze slightly downward, which is easier on your neck and eyes than looking up. If you use a laptop as your primary display, you'll almost certainly need to raise it — see our guide on choosing the right ergonomic laptop stand for your desk to find the right option. But once the laptop is elevated, you'll need an external keyboard and mouse, because reaching up to type on a raised laptop is a recipe for shoulder strain.
Distance matters too. Your screen should sit about an arm's length away, close enough to read comfortably, far enough that you're not craning forward. Position it directly in front of you, not off to one side, so you're not twisting your neck all day.
If you use dual monitors, angle them in a slight V shape with the seam at your center, or position the primary monitor straight ahead and the secondary off to one side for occasional glances. The NIH ergonomics self-assessment checklist offers a useful reference for monitor placement.
Step 3. Choosing Ergonomic Input Devices
Your keyboard and mouse are the tools your hands touch thousands of times a day. If they're poorly designed or poorly placed, your wrists, forearms, and shoulders absorb the damage.
Mice and Pointing Devices
Traditional mice force your forearm into pronation, that palm-down twist that puts strain on tendons over time. If you've ever felt that ache along the outside of your forearm after a long day, you know exactly what I mean.
Ergonomic pointing devices address this in different ways. Contour Design offers several options depending on how you work. The RollerMouse positions a roller bar directly in front of your keyboard, so your hands stay centered and you eliminate the reach to a side mouse entirely. It's a favorite among video editors, designers, and anyone who values precision without the repetitive side-to-side motion.
If you prefer a touchpad-style experience, Contour Touch provides gesture-based control with minimal wrist movement. And for those who want a more traditional mouse shape but with adjustable angles, the UniMouse lets you tilt the grip to find a neutral forearm position that works for your anatomy.
The key is keeping your wrist straight, not bent up, down, or sideways, and your arm relaxed at your side, not reaching across the desk.
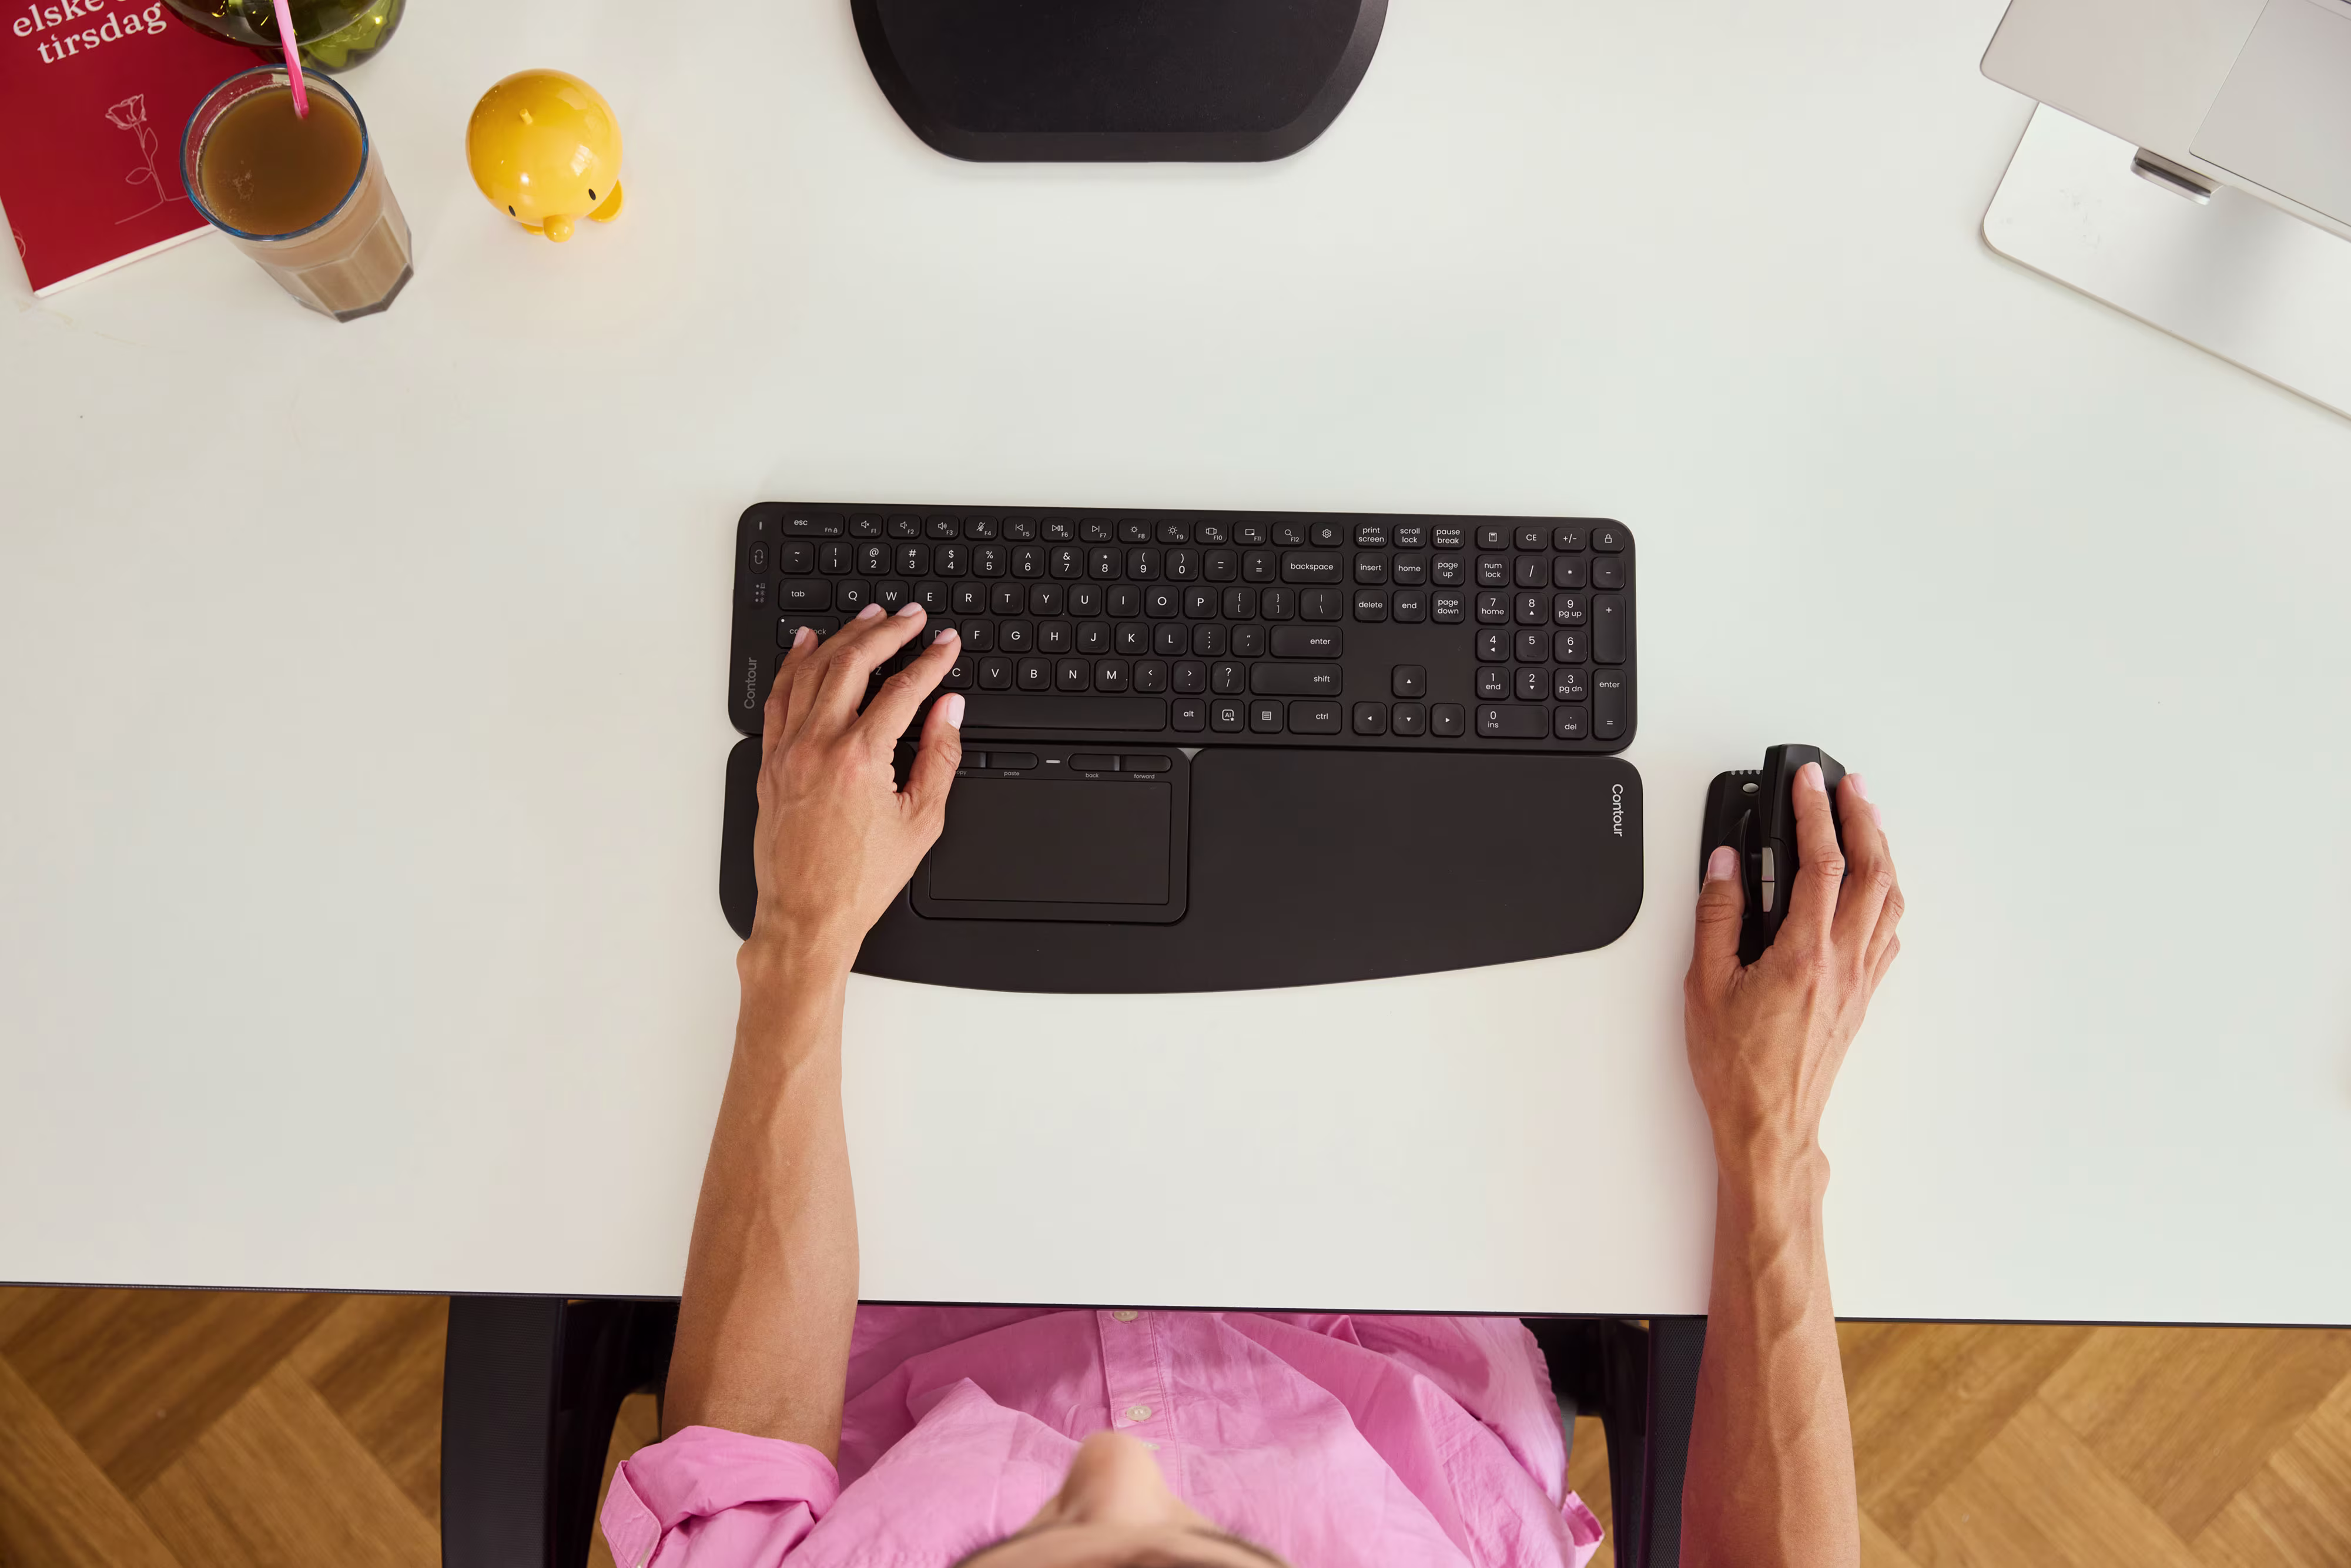
Keyboards and Wrist Support
Your keyboard should sit below your elbows, flat or with a slight negative tilt (front edge higher than back). Most keyboard feet flip up and tilt the board away from you, which is exactly backwards, this forces your wrists to bend upward.
Compact keyboards, like the Balance Keyboard from Contour, eliminate the number pad on the right side, which brings your mouse closer to your body and reduces shoulder strain from reaching. It's a small change with a big payoff, especially for right-handed users.
Pairing a centered pointing device like the RollerMouse with a compact keyboard creates a setup where both hands work in front of your shoulders, wrists stay neutral, and you never have to reach or twist. That combination addresses the root causes of most desk-related arm and shoulder pain. For a step-by-step look at getting every element positioned correctly, see our guide on how to set up your desk ergonomically.
Step 4. Building Movement and Micro-Breaks Into Your Day
Even the best ergonomic setup won't save you if you sit frozen in one position for eight hours. Your body needs movement.
Aim for a short break, five minutes, every hour. Stand up, walk to another room, stretch your arms overhead, roll your shoulders. These aren't luxuries: they're maintenance. Your muscles and tendons need blood flow and position changes to stay healthy.
Micro-breaks help too. Every 20 to 30 minutes, look away from your screen, let your hands rest, and shift your posture. You don't have to get up, just change something. Roll your wrists, adjust your seat, glance out a window.
If you struggle to remember, set a timer or use a break-reminder app. It feels awkward at first, but after a week it becomes habit. And the payoff, less stiffness, better focus, fewer end-of-day aches, is worth the interruption.
While you're at it, keep your desk clutter-free. A document holder next to your monitor prevents neck strain from looking down at papers. Natural side lighting reduces glare better than overhead fluorescents. Small environmental tweaks add up. For more ideas on how thoughtful ergonomic workstation design reduces long-term strain, that guide covers the full picture.

Conclusion
Your home office doesn't have to be a source of pain. With a few targeted adjustments, chair height, monitor position, keyboard and mouse placement, regular movement, you can work long hours without your body paying the price. The goal isn't perfection: it's sustainability. You want a setup that supports your work, protects your hands and shoulders, and lets you show up tomorrow feeling as good as you did today.
Start with one change. Maybe it's raising your monitor. Maybe it's swapping to a centered mouse. Notice how it feels, then make the next adjustment. Over time, these small choices add up to a workspace that works for you, not against you.
Key Takeaways
- An ergonomic home office setup prevents long-term issues like wrist strain, neck tension, and lower back pain caused by poor posture.
- Adjust your chair so your feet rest flat on the floor and your elbows bend at 90 degrees to maintain a neutral posture.
- Position your monitor at eye level and an arm's length away to reduce neck strain and eye fatigue.
- Use ergonomic input devices like a centered mouse or compact keyboard to keep your wrists straight and shoulders relaxed.
- Take short breaks every hour and micro-breaks every 20–30 minutes to keep muscles healthy and maintain focus.
- Start with one small adjustment—like raising your monitor or repositioning your mouse—and build toward a sustainable workspace.
Frequently Asked Questions
Why is an ergonomic home office setup important for remote workers?
An ergonomic home office setup prevents long-term musculoskeletal issues like wrist strain, shoulder tension, and lower back pain. Poor workspace arrangements compound over time, affecting both physical health and productivity. Research shows proper workstation setup reduces discomfort and boosts focus during remote work.
How do I position my monitor for proper ergonomics?
Place the top of your monitor at or slightly below eye level, about an arm's length away. Position it directly in front of you to avoid neck twisting. If using a laptop, elevate it with a stand and add an external keyboard and mouse to prevent shoulder strain.
What is the correct desk and chair height for an ergonomic home office?
Adjust your chair so feet rest flat on the floor with thighs parallel to the ground. Your keyboard and mouse should allow forearms to stay parallel to the floor with wrists straight. Most dining tables are too high—consider a keyboard tray or raising your chair with a footrest.
What are the best ergonomic mouse options to reduce wrist pain?
Ergonomic mice reduce forearm strain by promoting neutral wrist positions. Options include roller bars positioned in front of your keyboard, vertical mice that reduce pronation, and adjustable-angle mice. The key is keeping your wrist straight and your arm relaxed without reaching across the desk.
How often should I take breaks when working from home?
Take a five-minute break every hour to stand, stretch, and walk around. Additionally, incorporate micro-breaks every 20–30 minutes by looking away from your screen, resting your hands, and shifting posture. These movement intervals improve blood flow and reduce end-of-day stiffness.
Can a standing desk improve my home office ergonomics?
A standing desk can benefit your ergonomic home office setup by encouraging posture changes throughout the day. Alternating between sitting and standing reduces pressure on your lower back and promotes movement. However, proper monitor height and anti-fatigue mats are essential for standing comfort.

Which Device Is Right for You?
Take a quick quiz and get a personalized recommendation based on how you work.
